You just opened the box.
That little retro gaming device is sitting there, shiny and promising.
But then you stare at the manual. Or worse (there) is no manual. Just a USB cable and a vague website link.
I’ve been there. More than once.
Most people get stuck right after plugging it in. They don’t know which port to use. Or why their TV says “no signal.” Or why the controller won’t pair.
This How to Set up Lcfgamestick guide fixes that.
I’ve set up over 40 of these (some) with broken firmware, some with mismatched HDMI cables, some with TVs that hate retro devices.
No theory. No fluff. Just what works.
In under 30 minutes, you’ll be playing Mario Kart.
Not configuring. Not troubleshooting. Playing.
Let’s go.
Unboxing the Lcfgamestick: What You’ll Actually See
I opened mine on a Tuesday. No fanfare. Just a plain white box with Lcfgamestick printed on the side.
You can see the full specs and compatibility list here.
Here’s what should be inside:
- The Lcfgamestick itself (a black HDMI stick, about the size of your thumb)
- One or two controllers (depends on your bundle)
- An HDMI extender (that little plastic sleeve. Use it if your TV port is tight)
- A USB power cable (micro-USB, not USB-C)
- A pre-loaded microSD card (don’t lose this)
If any piece is missing, don’t assume it’s “coming later.” It’s not. Contact support right away.
Step 1: Plug the Lcfgamestick directly into an HDMI port on your TV. If it feels loose or blocks the port next to it, slide on the HDMI extender first. (Yes, it’s fiddly.
Yes, it matters.)
Step 2: Plug the USB power cable into the stick, then into your TV’s USB port. If your TV doesn’t power USB ports when off. And most don’t.
Grab a wall adapter instead.
Step 3: Slide the microSD card in firmly. You’ll hear a soft click. If it wobbles, it’s not seated.
Power on your TV. Switch to that HDMI input.
You’ll see a black screen for 4 seconds. Then a white logo. Then color bars.
Then the home screen.
No spinning wheel. No “loading…” text. Just clean transitions.
That’s it.
That’s how to set up Lcfgamestick.
If you get static or no signal, check the HDMI extender first. Ninety percent of boot issues start there.
The rest? Usually the SD card not clicking in all the way.
Try it again. Push harder.
Menu Walkthrough: Settings That Actually Matter
I open the menu every time. Not because I love it. But because skipping it means playing with wrong aspect ratios or unresponsive buttons.
The main menu is clean. Top row: Games. Middle: Favorites.
Bottom: Settings. That’s it. No hidden tabs.
No “advanced” submenus buried under three layers.
Switching emulators? Just highlight SNES, Genesis, or PlayStation and press A. It loads instantly.
No restarts. No waiting. (Yes, even PlayStation games boot fast on this thing.)
Language is first in Settings. Change it now. Don’t wait until you’re stuck reading Japanese menus mid-game.
Screen Ratio comes next. Pick 4:3 for SNES or Genesis. Your eyes will thank you. 16:9 stretches sprites like taffy.
And no, that’s not nostalgia. That’s just bad scaling.
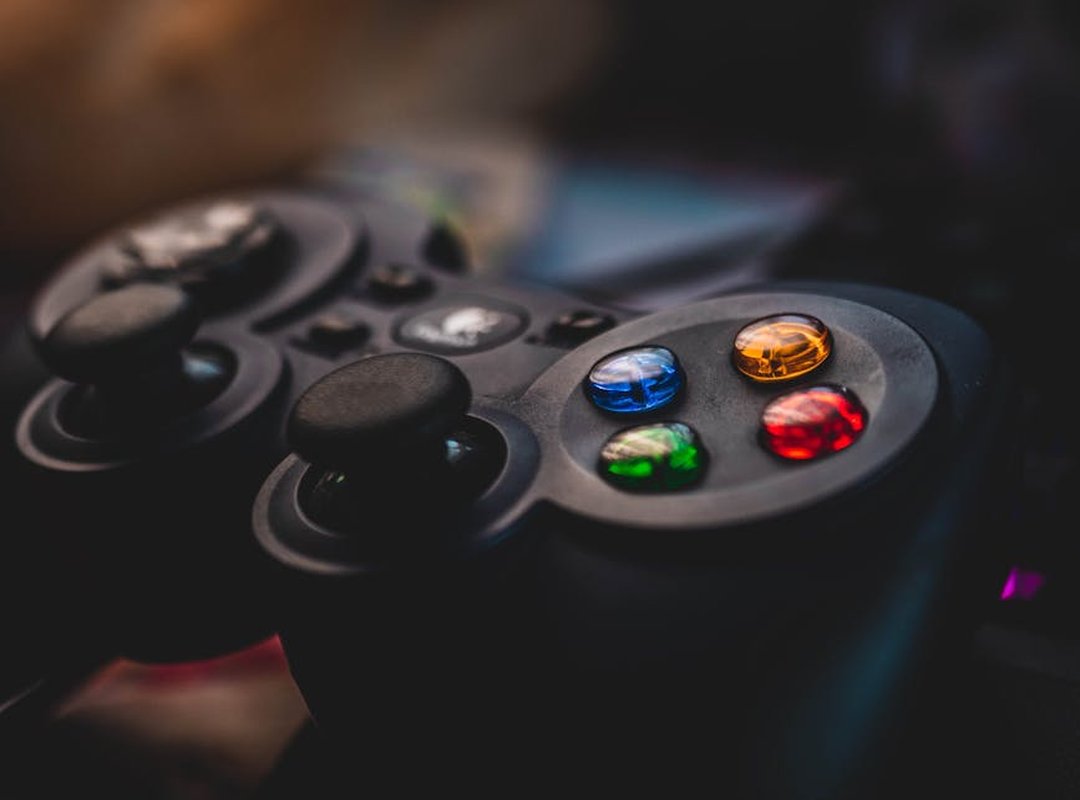
Controller Configuration is where most people stall. Go there. Test every button.
If X feels like it should be B, remap it. You don’t owe loyalty to default layouts.
To map a button: highlight it, press A, then press the physical button you want assigned. Done. No confirmation screens.
No double-checking.
Favorites are stupid simple. While browsing games, hold Select. Game appears in Favorites instantly.
No drag-and-drop. No folders. Just tap and go.
Here’s the Pro Tip:
Use the Select button to open the main menu from within a game to save your progress, adjust settings, or exit back to the main list.
I covered this topic over in this guide.
I’ve lost count of how many times I’ve paused Chrono Trigger, hit Select, saved, and jumped straight back in. Zero friction.
How to Set up Lcfgamestick isn’t about memorizing steps. It’s about doing these four things first: language, 4:3 ratio, controller test, Favorites setup.
Skip one? You’ll notice. Usually during boss fights.
Don’t overthink it. Just do those four. Then play.
How to Add Games to Your Lcfgamestick
This is the number one thing people ask me.
It’s also the fastest way to go from “meh” to “holy crap I own Chrono Trigger again.”
Let’s get real for a second: you should only add ROMs you legally own. Backups of games you bought. Not downloads from sketchy forums.
(Yes, Nintendo still cares. Yes, it matters.)
I’ve seen too many people skip this step and then wonder why their setup feels off.
So here’s how you actually do it:
Power down the Lcfgamestick. Don’t just unplug it. Hold the power button until it shuts off cleanly.
Pull the microSD card out. Gently. Those little cards snap easier than a Doritos chip.
Plug it into your computer with a reader.
Open File Explorer (Windows) or Finder (Mac). Look for the drive labeled “LCFGAMESTICK” or similar.
Find the folder named roms. Or sometimes games. It’s usually right there.
Inside, you’ll see folders like snes, gba, n64, psx. That’s not random. Put a Super Nintendo game in the snes folder.
You can read more about this in How to configure lcfgamestick.
A Game Boy Advance title goes in gba.
No exceptions. The stick won’t guess for you.
Drag your ROM files in. Make sure they’re the right format (.smc) or .sfc for SNES, .gba for Game Boy Advance, etc.
Safely eject the card. Don’t yank it.
Slide it back into the Lcfgamestick.
Power it on.
It scans automatically. No menu diving. No hidden settings.
You’ll see new games appear in their respective system lists within 30 seconds.
If they don’t show up? Check the folder name again. And the file extension.
That’s where 90% of the trouble lives.
Want more control over what shows up. Or how it looks? The Upgrades lcfgamestick page has clean options for sorting, themes, and boot tweaks.
How to Set up Lcfgamestick starts here. But it doesn’t end at the basics.
Quick Fixes That Actually Work
My controller isn’t working. I’ve been there. Batteries die fast.
USB receiver gets loose. Try fresh batteries first. Then yank the receiver and plug it back in.
Finally, go into settings and re-pair it. Don’t just assume it’s connected.
A game is running slow or glitching. Close it. Restart it.
Not “maybe later” (right) now. Some games push the hardware too hard. That’s not a bug.
It’s physics. (And yes, I’ve rage-quit over this.)
No picture on the TV? Check HDMI. Check power.
Try a different port. Try a different USB power source. Don’t stare at a black screen for five minutes (swap) cables before you Google.
If none of that sticks, Lcfgamestick setup might be the real issue. This guide walks you through it step-by-step. Read more
You’re Done. Seriously.
I’ve watched people stare at that Lcfgamestick menu for twenty minutes.
You didn’t.
The confusion? Gone. The blinking lights?
Tamed. The “why won’t this work?” panic? Over.
You wired it. You navigated the menu. You dropped your own games in.
That’s How to Set up Lcfgamestick (done) right. No guesswork. No reboot loops.
Just a console that boots and plays.
You wanted nostalgia without the headache.
You got it.
So what’s stopping you?
Your favorite game is already loaded. Your controller’s sitting there. You know exactly which one you’re firing up first.
Now, put down this guide. Pick up your controller. Load that classic. right now.
 Glenda Josephitto is the kind of writer who genuinely cannot publish something without checking it twice. Maybe three times. They came to hot topics in gaming through years of hands-on work rather than theory, which means the things they writes about — Hot Topics in Gaming, Esports Fundamentals and Strategies, Team Meta Analysis in HCD Arenas, among other areas — are things they has actually tested, questioned, and revised opinions on more than once.
That shows in the work. Glenda's pieces tend to go a level deeper than most. Not in a way that becomes unreadable, but in a way that makes you realize you'd been missing something important. They has a habit of finding the detail that everybody else glosses over and making it the center of the story — which sounds simple, but takes a rare combination of curiosity and patience to pull off consistently. The writing never feels rushed. It feels like someone who sat with the subject long enough to actually understand it.
Outside of specific topics, what Glenda cares about most is whether the reader walks away with something useful. Not impressed. Not entertained. Useful. That's a harder bar to clear than it sounds, and they clears it more often than not — which is why readers tend to remember Glenda's articles long after they've forgotten the headline.
Glenda Josephitto is the kind of writer who genuinely cannot publish something without checking it twice. Maybe three times. They came to hot topics in gaming through years of hands-on work rather than theory, which means the things they writes about — Hot Topics in Gaming, Esports Fundamentals and Strategies, Team Meta Analysis in HCD Arenas, among other areas — are things they has actually tested, questioned, and revised opinions on more than once.
That shows in the work. Glenda's pieces tend to go a level deeper than most. Not in a way that becomes unreadable, but in a way that makes you realize you'd been missing something important. They has a habit of finding the detail that everybody else glosses over and making it the center of the story — which sounds simple, but takes a rare combination of curiosity and patience to pull off consistently. The writing never feels rushed. It feels like someone who sat with the subject long enough to actually understand it.
Outside of specific topics, what Glenda cares about most is whether the reader walks away with something useful. Not impressed. Not entertained. Useful. That's a harder bar to clear than it sounds, and they clears it more often than not — which is why readers tend to remember Glenda's articles long after they've forgotten the headline.